Sunday, November 25, 2012

Thankful Finishes - 1 XMAS Item(s)


Worked on many things in November, some close to being complete, and thankfully, some completed!  One of my nieces had started making Christmas cookies and goodies a couple of years ago, and I thought about making her oven mitts with matching towels and adding a couple of cute baking accessories, but never got too far with the idea.  Then last year she mailed us some of her treats, which was a nice surprise!  (I have made Christmas cookies and sent them to many of our relatives each Christmas for almost 20 years, only missing the year my son decided to be born the Tuesday before Thanksgiving . . . when he wasn't due until after the New Year!!)  So, at an after Christmas sale at my local quilt store I found the sweetest fabric, and decided to try an apron from a book I had bought awhile ago.  It is the closest to garment sewing I have tried in many years, I can actually say it was fun to make, and I would love to make more!  I so wish I had bought more of the same fabric, I don't have enough left to make another like it.  It's a little big on my DD (she's only 13) but my niece is nearly 30 and I think it will fit nicely.   My other XMAS items were so fast and easy to whip up, I am very grateful to my "quilting sisters" Bee for showing us how to make them.
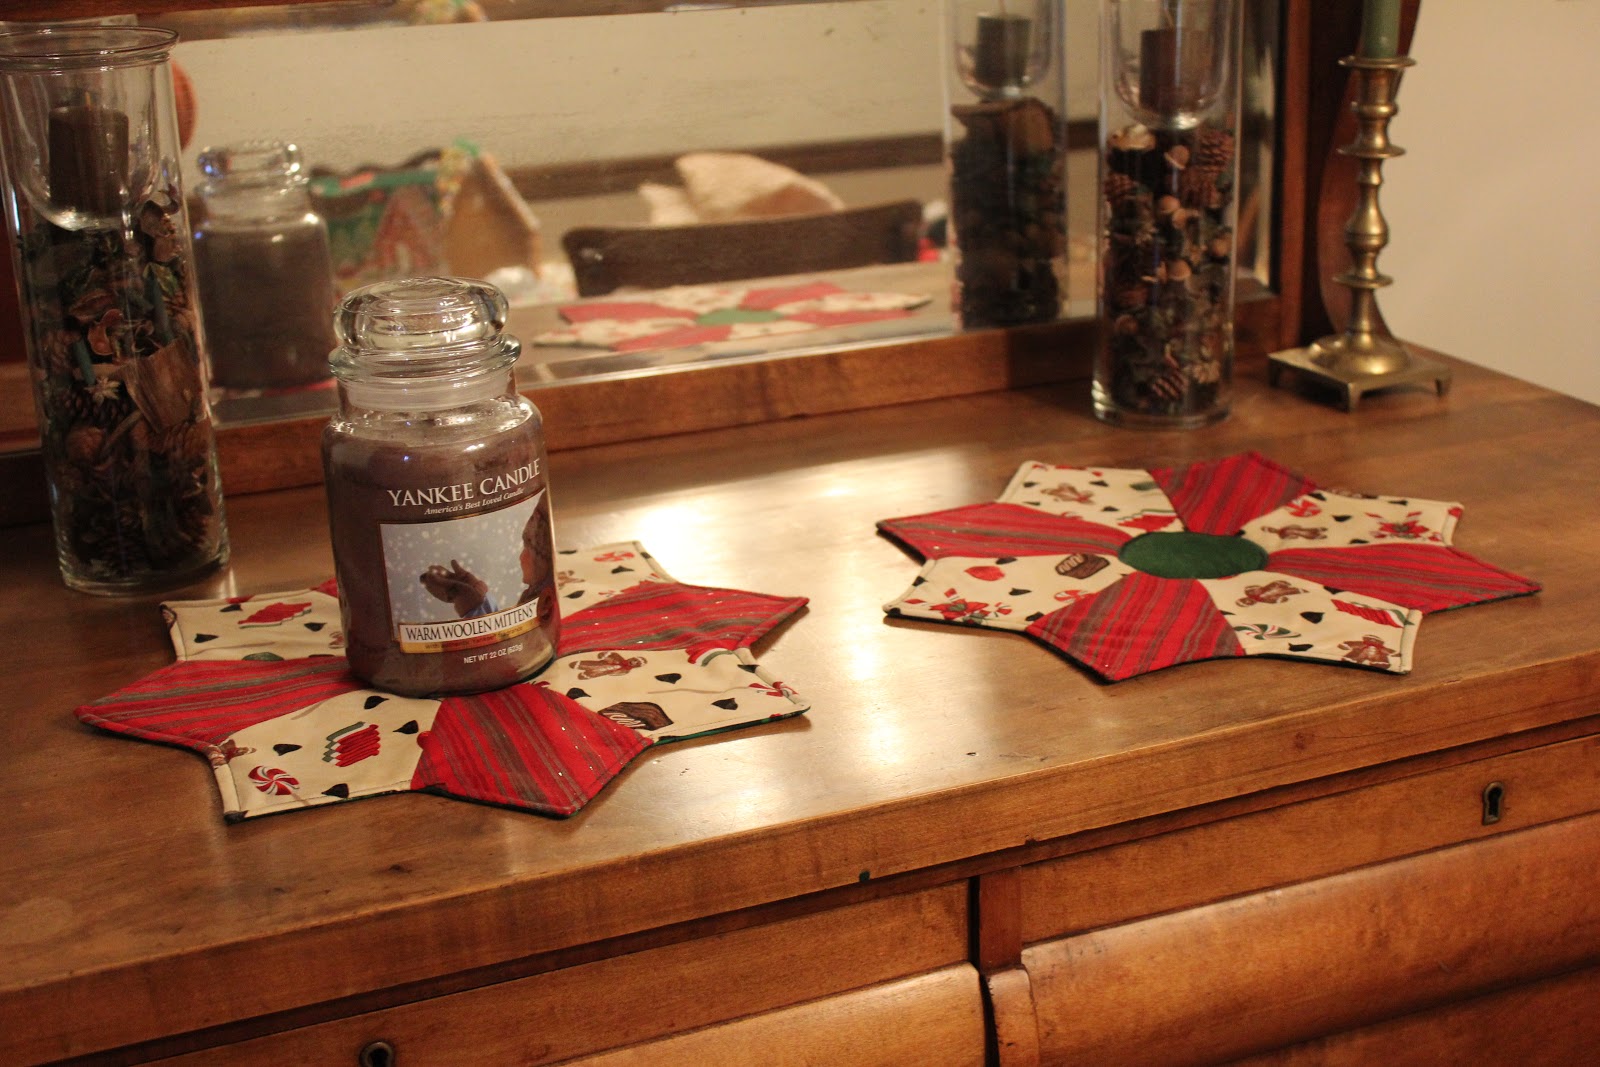
They are candle mats, although you could use them as soup mats or whatever else came to mind.  I made two from the scraps of Apron fabrics, and the other three are for my sister.  There are two patterns, one with three of each fabric and the other with four of each fabric.  I am going to make one more for my sister to even it out.  I have more cut out for my mother in law's Christmas gift, along with a couple of candles.  On my "someday" list, I'd like to reduce the size of the templates, so that they would be the right size for mug mats, wouldn't that be cute?
I also managed to finish another WISP/UFO!  I designed this little baby quilt over a year ago and cut out most of the fabric, but never got around to finishing it.  It went together so quickly, I felt silly for procrastinating so long.  I just love the colors, they lift my mood whenever I look at it.  I used citrus varigated thread to quilt it and it worked beautifully.  The Batik on the back is so lovely too - almost used a microfleece on the back, but it seems more like a summer quilt.   We enjoyed a very quiet and
relaxed Thanksgiving, a nice break before the rush of the holidays.
 Our dear Samantha does not look relaxed as she supervises my DH as he carves up the turkey.  Much to her dismay, he refused her demands offers of assistance!  Happy Quilting!

Wednesday, October 31, 2012

Happy Halloween!

I could just SCREAM!  I had the post almost done, a long one too, yes, lot's of pictures and my computer crashed! ARRRRRGGGH!  So. not. happy.  Well.  It appears I was the one tricked!!  What happened to auto save?  I will try again, but so disappointing!

I decided to make a companion for the ghost pop decoration, I used scraps and quilt as you go method.  I had wanted to do it in black & white, but didn't have the right background fabric.  A couple of days later, I found the perfect fabric amongst the remnants at Joanne's, so I felt compelled to make another, I just changed the border.   I prefer the black&white, what do you think?  I finished another scarf, which will go to my DD.  I had also noticed that I had not completed any WISP's since August so I finished these three tissue box holders.  I can't believe how quickly they went together - what was I waiting for?  Made just in time to pack away for next year!  I do like how they turned out!

 
  My DD traded her birthday party in July for a Halloween party this past Saturday!  Many of her friends travel in the summer and it was tough trying to settle on a date.  She had so much fun planning and preparing for it.  I enjoyed crafting somethings for the party. We made more of the yarn/glue/balloons, this time using white yarn, adding fake spider webbing and plastic spiders to decorate one wall.  I spray painted a grapevine wreath black, some gumtree balls, silver, added gauze and more plastic spiders.  So easy!  I also sprayed a smaller wreath white, let it dry, then sprayed it black which gave it an aged look for this hurricane glass with chocolate eyeballs and pumpkin spice candle.  Neat look!  My DD and DH blew up many balloons and decorated the wall behind the food table.  She found that idea on pinterest   

 There was a lot of yummy food too!  We made witches fingers - Rice Krispy treats, add green food coloring to the melted marshmallows, once it's all mixed together, butter up your hands and mold into fingers.  Don't forget to form a "knuckle" in the middle!  The fingernails are strawberry fruit rollups, four layers cut into triangles, another easy idea!  There were chips and dips, pizza, hamburgers and hot dogs and of course a spooky cake and spider lollipops - 12 & 13 year old's eat a lot! At the end of the night all the girls asked to sleep over, but with hurricane Sandy creeping closer by the hour we had offer a raincheck. 

This is where I usually park my truck.  Moved it at the last minute.
We were so fortunate, although we  had heavy rain and strong winds for 2 1/2 days, our family and home remained intact!  Numerous branches came down, but our tree stayed upright, which was my greatest concern.  My heart goes out to those north of us who uncharacteristically bore the brunt of this hurricane.  I hope you all have enjoyed a happy and safe Halloween! 


Thursday, October 25, 2012

1XMAS Item


I only have one XMAS item for October, and I LOVE it!!  I finally found a tutorial on how to make an infinity scarf!   This one, that my dd is modeling for me, is a Christmas gift for my mother!  She loves scarves, and I know she loves this fabric too!  When you make this you cut it all in one long piece, but it's pretty narrow so I have enough fabric to make 4 of these.  The tutorial that I used actually called for the scarf to be 11.5" wide, but mine is 7" wide.  I don't know if you can tell but it is doubled.   Although you can't tell from her expression, my dd loves the scarf too, good thing since I almost have hers done, I just have to hand stitch the final part - I believe she may find a few of these under the tree this year!  So glad my niece brought this to my attention, what a great way to use up fabric and make quick gifts.  This fabric was in my stash!  I'm not sure if I will use the remaining 16" X 73" to work up a purse (or two?) or if I will just make two more scarves.  I guess we'll see next month!  Happy Quilting!

Wednesday, October 24, 2012

Spooky, How Time Flies !


This project came about because the idea for the main component, the ghost, came to me after I passed large bags of Tootsie Pops at the grocery store.  It was crazy, I walked by them and then suddenly I thought - wow you could wrap those in gauze strips, draw a face on them with permanent marker, and then for Halloween you could spray paint a pumpkin black, make up a bunch of these and stick them in the pumpkin and put it on your porch on Halloween night!  So. I turned around and grabbed two bags.  Once I got home and put away the groceries, I tested out the idea as far as making the ghost, and yes, it took only a couple of minutes!  One of the (many) things I dislike about the heat and humidity in Virginia is that our pumpkins don't last very long at all.  I would have loved to have tried the pumpkin idea, but I had the idea at the end of September and there is no way pumpkin with holes would last a month.  
So I wanted a way to present the ghosts, and I also thought of buying one of those smaller, craft size bales of hay, but they are messy and my cats would chew on them.  I walked around Michael's for inspiration and it finally came to me.  I had everything at home except the clay pots.   
To make the project you must first make the ghosts.  Place a strip of gauze on top of a lollipop, insuring you are even on both sides and grasp the neck. Turn the lollipop and place another strip in the same manner, but now you are covering up a different section of the lollipop.  Continue until the lollipop is as covered as much you like, and that you have a nice amount of "tails"  I clipped the ends in a V or tried to make them look ragged.  I wrapped a small piece of gauze around the neck and tied it.  That's it for the ghost!  Whoops, I just noticed that I don't have a photo of the Styrofoam cone!  That's because it was being painted black.  My dd painted the pot using the foam brush, once it
 dried I cut florist foam to fit the pot and put the Spanish moss around the gaps.  I attached the painted black cone to the florist foam with wooden grilling skewers cut in half, I pushed the cut ends into the center of the florist foam and then stuck the cone on top of them, I used four of them.  I was going to stick the ghosts into the black foam, but changed my mind and put only one on top and set the rest around the pot.  This is now in the front entrance of my house.   Happy Quilting and Crafting!!!


Belated Sep 1XMAS Posting

Here are my belated photos for my belated posting!  I made another stocking to match the first, but made the strips thinner.  Still wasn't satisfied, it didn't look proportional - maybe the fringe is too long, but that was all I could find in the color I wanted.  I also finished a little mini purse, that was actually testing new thread on batiks that I was going to use on a customer quilt, the stitching was good so I wanted to turn it into a little gift!

 I decided to redraw the stocking pattern, extended it a bit and added the pointy toe to go with the fancy Christmas fabric and I LOVE the results!  I think it looks much more proportional and it will go perfectly with the Christmas quilt that I finished earlier this year!  They are my Xmas projects for September, but combined with the matching Christmas quilt, I am hoping it will make a nice wedding gift for a niece who is getting married September of 2013!   I made 5 more fabric memory games, tried an easier technique and it went much faster!  I had some trouble with the pinking shears, but it was still faster!  I also tested a new pantograph pattern on some stash fabric, and then put a matching binding on for a wheelchair quilt, which is the small project for my quilting guild.  And that was September and here it is almost the end of October! 
That's a scary thought! 
   Happy Quilting & Crafting!
 

Saturday, September 29, 2012

Nasty Infection(s)!

Not me, thank goodness, just my computer!  It got to the point I could not go online at all and then the machine would shut down even if I (or the children) were in Microsoft word or trying to add or edit photos.  We finally brought it to the "Geek Squad" and after 5 days they called to tell us they were able to get rid of all of the many nasty infections on the computer, and they were going to start repairing all of the damage that was done to Microsoft operating systems.  That was on Thursday, and still no word to pick it up.  I am now on my DH's laptop. which I dislike.  It is so slow and I cannot add photos.  I use my nook to go on facebook and check the weather and my email, but that is limited as well, It won't always let me do everything I want.  On the silver lining side; I have gotten quite a bit done!  Check out the sidebar for OPAM finishes for September!  That doesn't include longarming and making some crafty items for Halloween either!  I also hosted my quilting bee yesterday, and taught them how to cover different containers, it was so much fun and they had fabulous ideas for trims!  One lady covered a shoe box that she uses to hold her notions and it came out great - great idea too!  My next post will have photos of my finishes and also a "how to" for the Halloween project I thought up!    Happy Quilting and Crafting!

Sunday, August 19, 2012

August 1XMAS

I am very happy I was able to finish this tonight.  I was hoping to have two completed, but the weekend just didn't work out that way.  Up very early tomorrow to drive 10+ hours to Massachusetts, won't be back until the 27th and didn't want to miss posting my Christmas item on time!  This is an experiment.  I used the pattern I made for the stockings that our Guild made during a Quilt of Valor workshop.  We made those stockings in red, white and blue and they were filled with goodies and presented to Wounded Warriors.  At the time I wondered how to make them fancier, and I think I succeeded!  I think I will make my strips smaller next time, especially the white strips, those bother me for some reason.  Happy Quilting!